
By: Mark Seaman
Last month, Microsoft announced a new feature for Power BI Workspaces: folders.
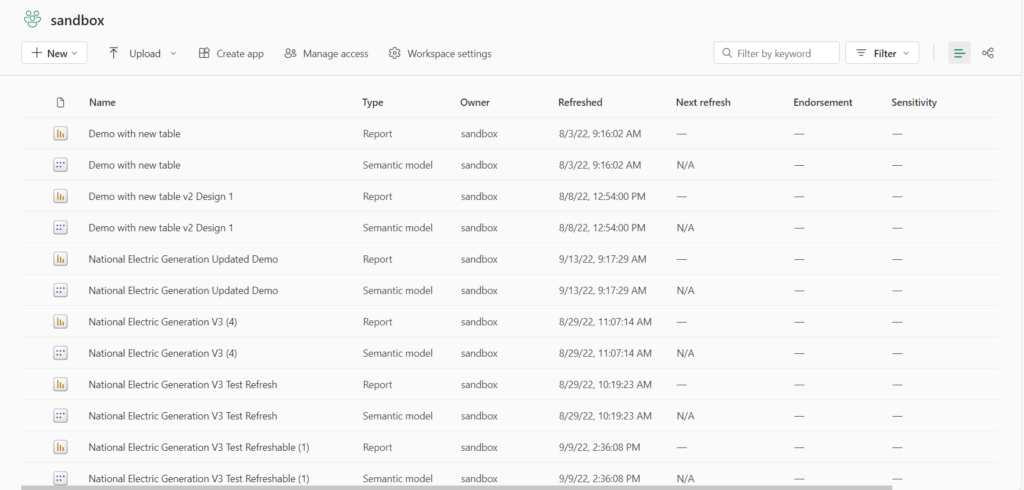
This addition allows teams to organize their Power BI workspaces more effectively, providing a clearer structure for collaboration and data analysis. Previously, analytics teams could sometimes struggle with cluttered workspaces due to reports and models arranged alphabetically. This made navigation cumbersome and hindered productivity.
Creating folders addresses this challenge by enabling teams to categorize and group related content effortlessly, promoting better organization and simplifying access to specific resources.
Workspace Before

Workspace After

Key Benefits of Creating Folders in Power BI
- Enhanced Organization: Creating folders allows teams to structure their Power BI workspaces logically, reducing clutter and improving overall organization.
- Streamlined Access: Grouping reports and resources within folders facilitates quicker access and navigation, saving time for users.
- Flexible Usage: Teams can customize workspace structure according to their needs without creating multiple workspaces, promoting efficiency.
- Unified Permissions: Folders inherit the same permissions as the parent workspace, ensuring consistency and security across content.
- Stronger Collaboration: Folders in Power BI Workspaces make it easier for teams to use their data better. Whether you’re working on something small or big, this feature makes Power BI easier to use.
How to Create Folders in Power BI
1. Navigate to Your Workspace
Log in to the Power BI service and access the workspace where you want to create folders.
2. Create a New Folder
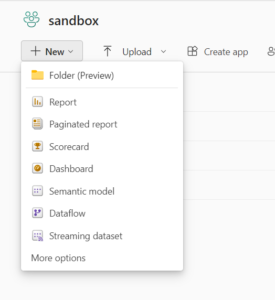
Click on “+ New” in the workspace.
From the options, select “Folder (Preview)”.
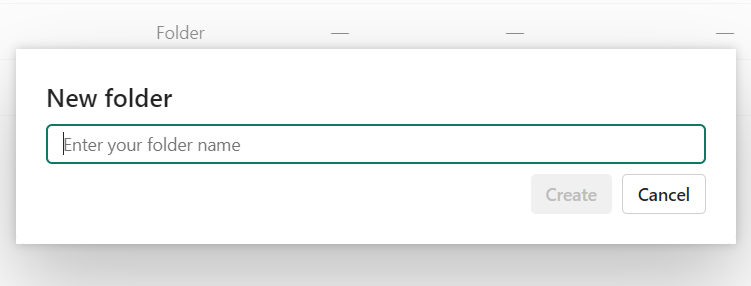
3. Name the New Folder
Give your folder a name that shows purpose.
4. Move Objects to the Folder
How to move a single object:
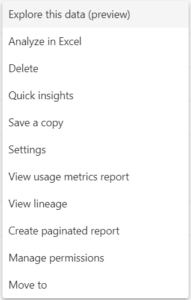
Click on the ellipsis (…) next to the object you want to move.

Select “Move to”.
How to move multiple objects:
Check the box next to each object you want to move.
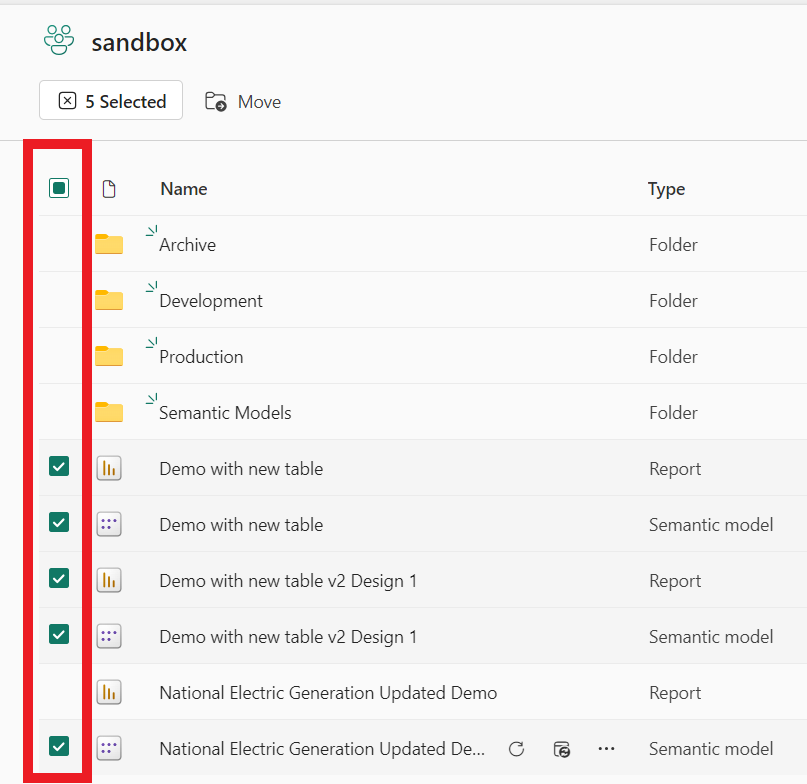
Click on “Move” in the toolbar at the top of the page.

5. Select Destination Folder
Choose the folder where you want to move the object(s) to.
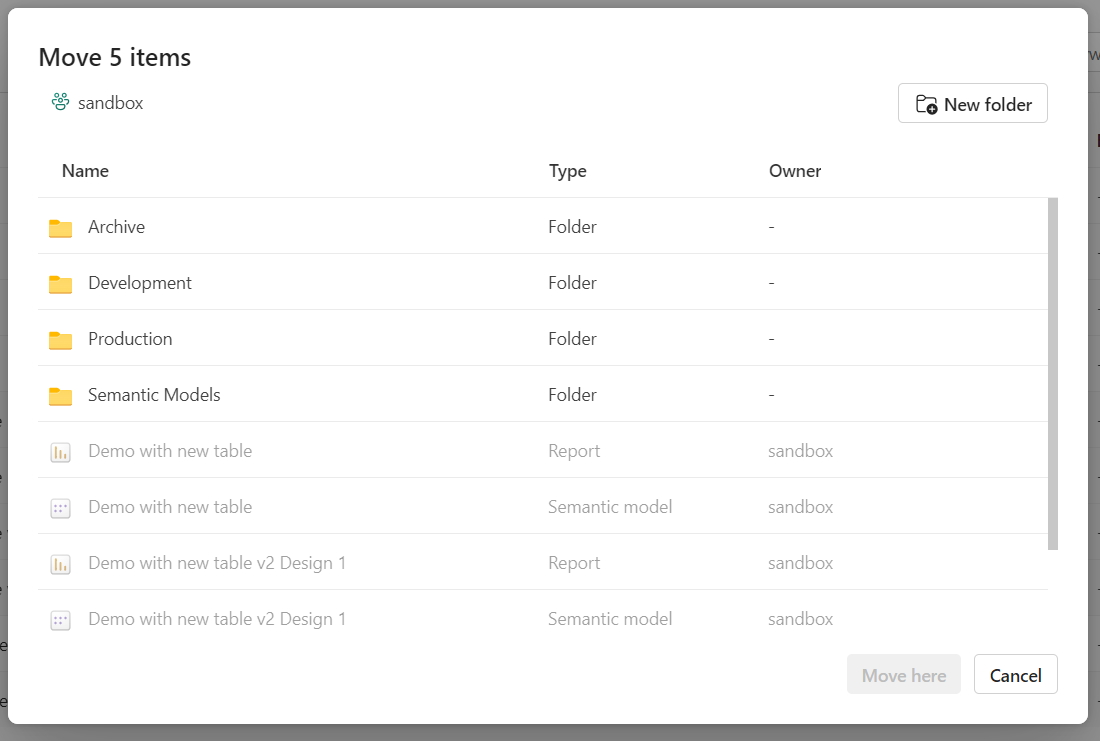
Click “Move here”.
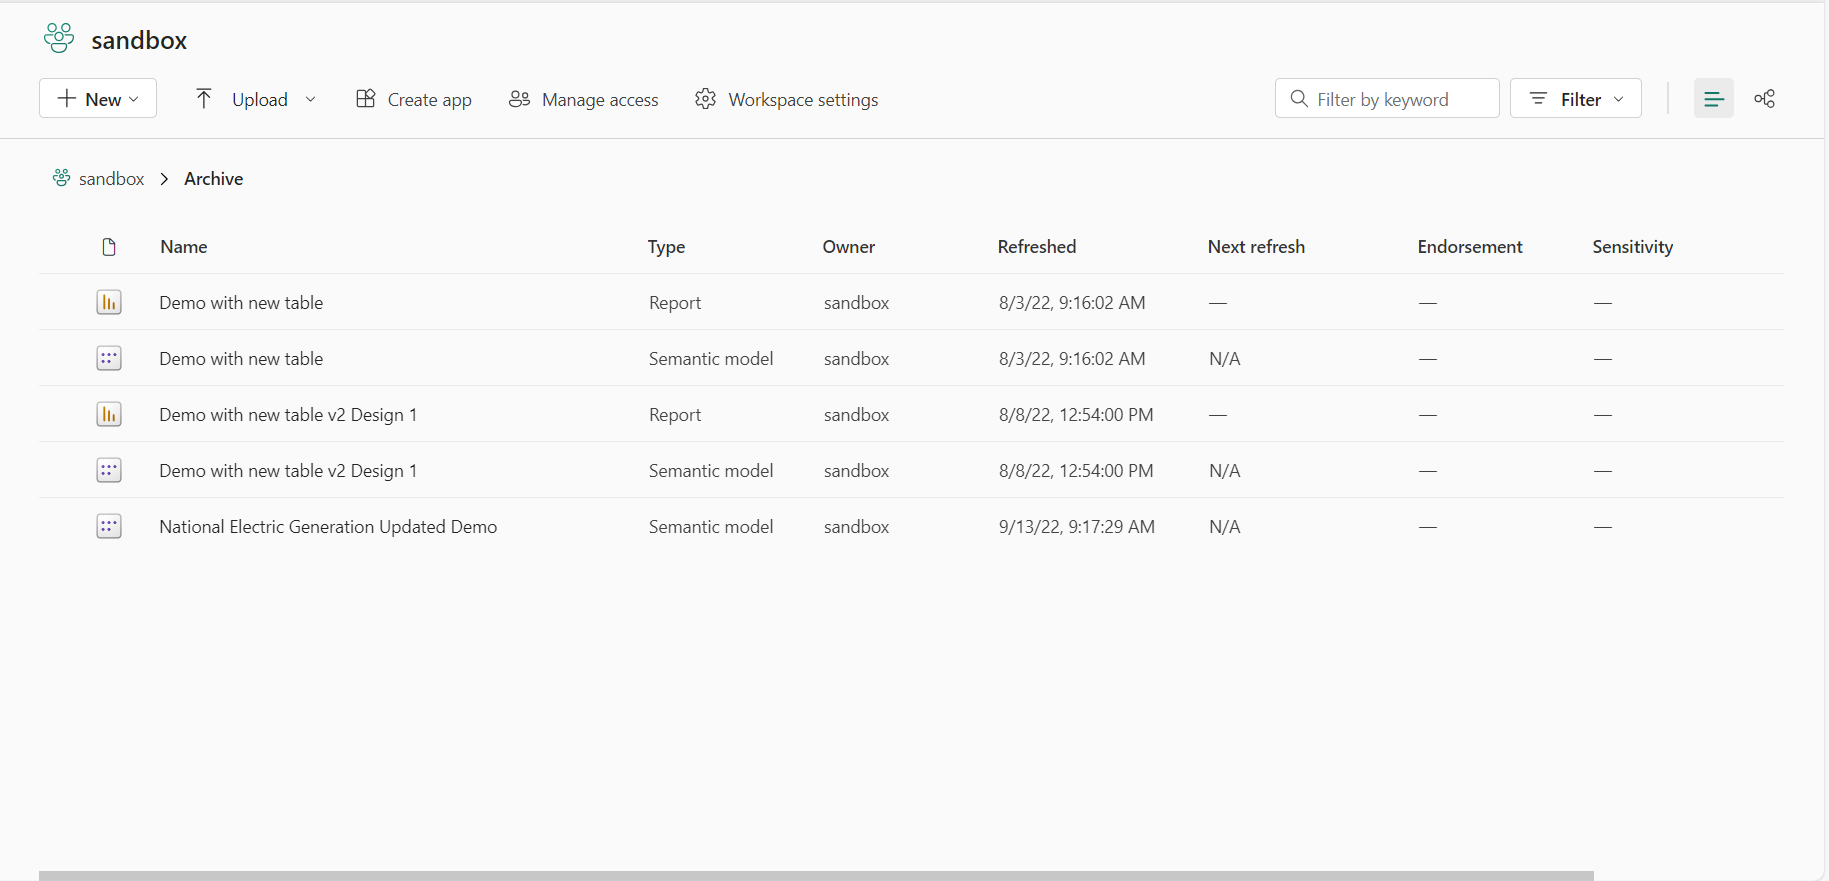
Check to make sure all objects are in the folder.
Thanks for Reading! Does Your Company Need Help With Power BI?
Does your company need help getting the most out of Power BI? We’ve helped many organizations do so. Check out our Power BI consulting services page to learn more.
Keep Your Data Analytics Knowledge Sharp
Get the latest Key2 content and more delivered right to your inbox!